Best AI Room Planner for Furniture Layouts
Learn how to use an AI room planner to test furniture layouts, circulation, small rooms, zones, and realistic room dimensions before you buy.
By AI Room Design Editorial Team
An AI room planner is useful when the hardest part of a room project is not choosing a style but deciding where things should go. A sofa, bed, desk, island, or wardrobe has to fit a real envelope. People need to move around it, open doors, reach storage, and use the room without constantly working around a beautiful but impractical arrangement.
That is the difference between a room layout planner and a pure image generator. A generated image can suggest the mood of a room. A planner helps you test relationships: furniture to walls, furniture to furniture, and furniture to the paths people use every day. The best workflow often combines both. Start with an AI room planner for the editable layout, then use AI Room Design to explore the visual direction of the layout that survives.
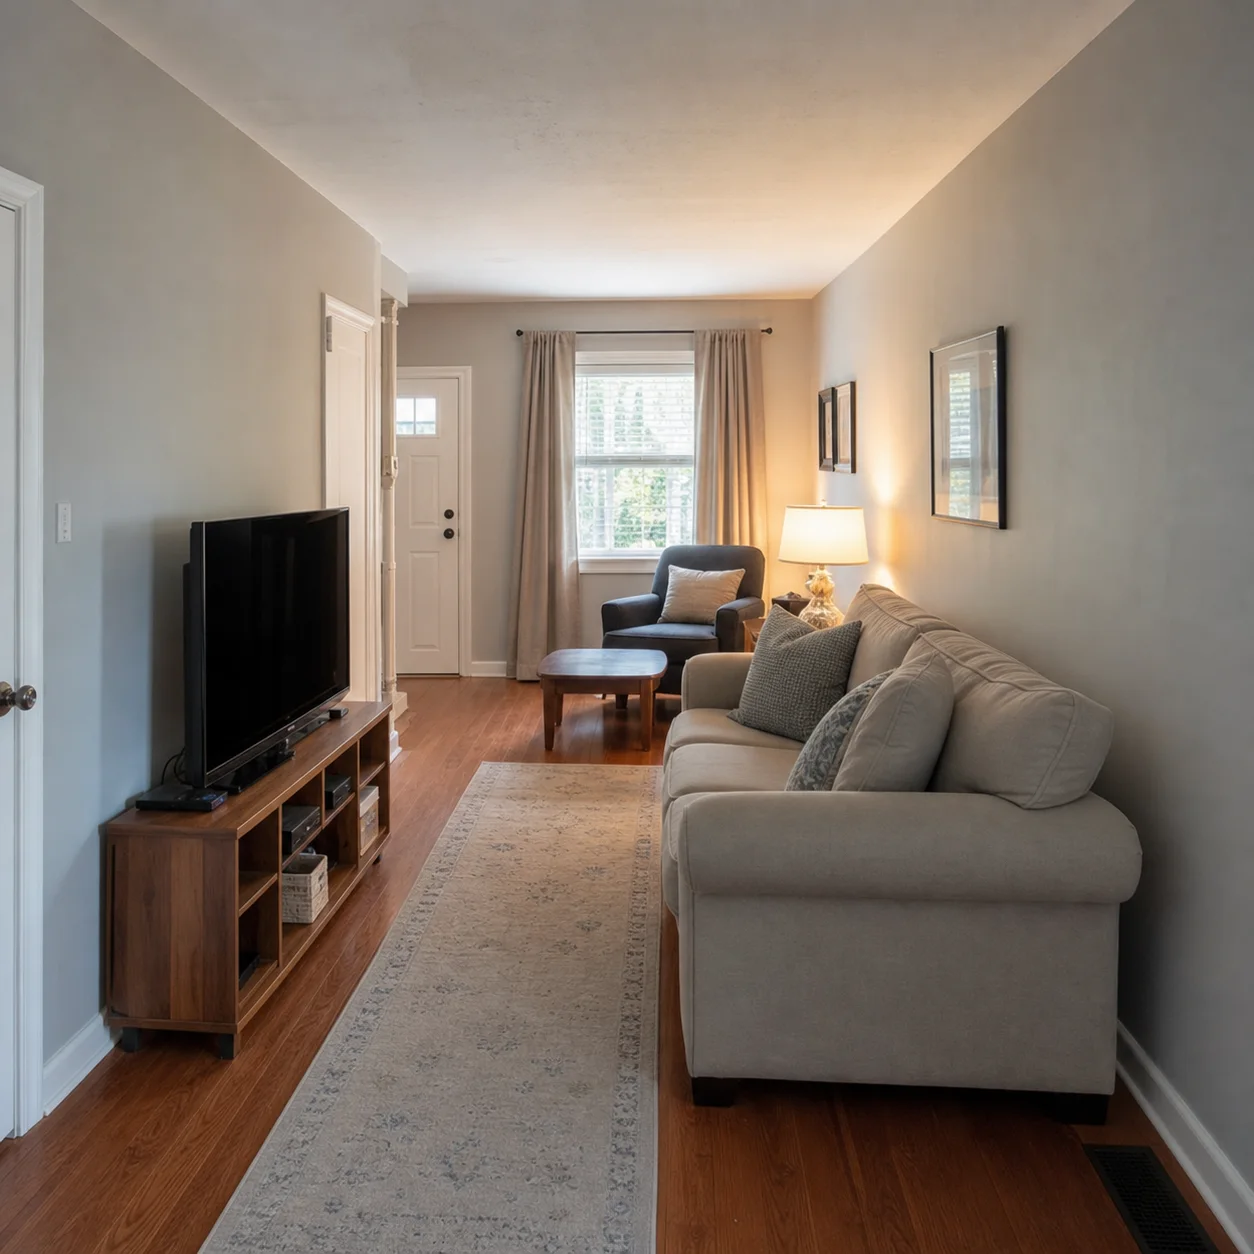
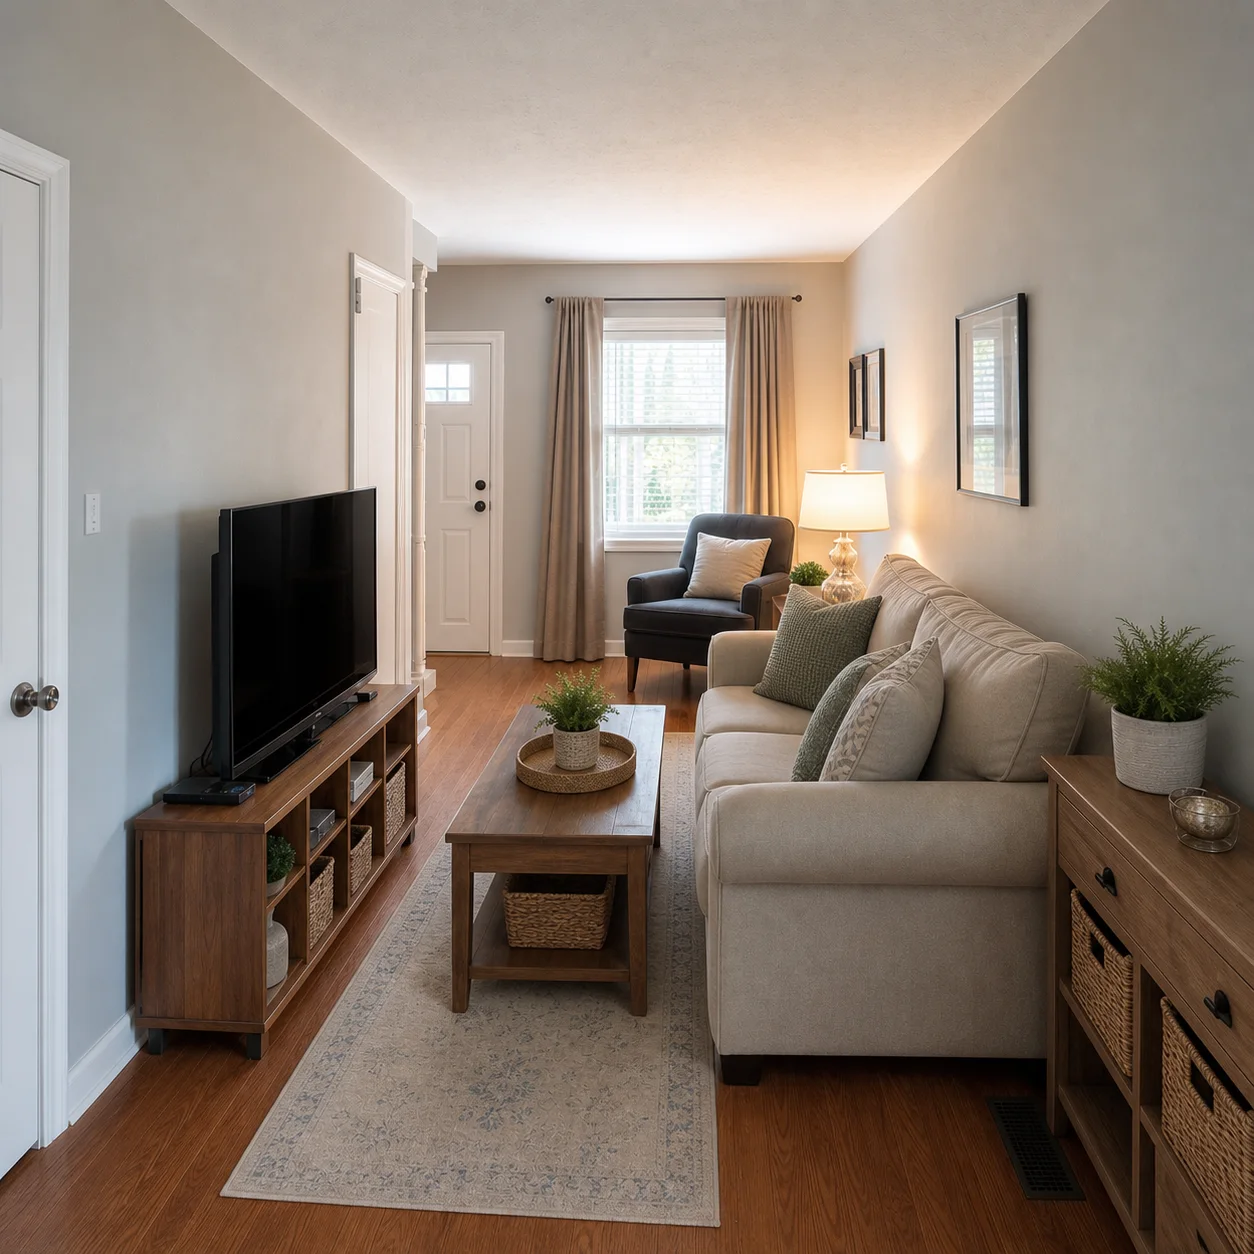
The images illustrate the relationship between planning and visualization. They should not be read as measured documentation. Use the planner with accurate dimensions and verify any final choice with real product measurements.
Why Room Planning Matters
Most room problems are relationship problems. A sofa is not “too big” in isolation; it is too big for the distance to the coffee table, the path to the door, or the amount of space left for another activity. A desk may fit against a wall but create glare, block a radiator, or prevent a wardrobe from opening.
Room planning makes those relationships visible before you commit money or effort. It also helps you compare tradeoffs honestly. One layout may create a generous conversation area but reduce storage. Another may fit a larger desk but make the room feel like a corridor. A useful plan does not eliminate tradeoffs; it makes them easier to see.
How AI Room Planners Work
An AI room planner may start from a blank room, a measured rectangle, a floor plan, or an image. It can help identify zones and suggest furniture, but the quality of the result depends on the input. If the room dimensions are wrong, the output may be internally consistent and still unusable.
The planning loop is usually:
- Define the room envelope.
- Add openings and fixed objects.
- Add the large furniture pieces.
- Test circulation and functional zones.
- Compare two or three layout variations.
- Add style, materials, and decoration after the layout works.
The order is important. A rug, pendant, or artwork cannot solve an inaccessible door. Style should support a functional plan rather than hide its problems.
Step 1: Measure the Room
Record the length and width of the usable floor area, ceiling height, wall thickness if relevant, and the position and size of every opening. Measure from finished surface to finished surface. Note alcoves, columns, sloped ceilings, radiators, vents, plumbing points, sockets, switches, and built-in cabinets.
Also measure the route that furniture must travel through the home. A sofa that fits the room may not fit the stair, lift, hallway, or doorway. AI cannot infer those delivery constraints from a room photo.
Use a simple measurement table:
| Item | Measurement to record | Why it matters |
|---|---|---|
| Room length and width | Finished wall-to-wall dimensions | Defines the usable envelope |
| Door | Width, swing, and hinge side | Protects entry and circulation |
| Window | Width, sill height, and opening direction | Affects furniture height and light |
| Radiator or vent | Position and depth | Needs airflow and service access |
| Built-in storage | Width, depth, and opening | Must remain usable |
| Power and data | Location and height | Supports lighting, media, and work |
| Ceiling fixture | Position and wiring | Affects zones and lighting |
When you are uncertain, mark the dimension as approximate. A visible uncertainty is safer than false precision.
Step 2: Draw the Room Envelope
Start with the walls and openings. Do not begin by dragging decorative items into an empty canvas. A room with the correct shape but no furniture is a useful base. A room filled with furniture but missing a door is not.
If the planner supports 2D and 3D views, use both. The 2D view is better for checking distances and alignments. The 3D view helps you judge sightlines, visual weight, ceiling height, and whether the furniture feels crowded. Switch views whenever a decision is uncertain rather than trusting one perspective.
Keep a copy of the empty measured layout. It becomes a reliable baseline for future experiments and protects you from losing the original when testing a dramatic option.
Step 3: Place Large Furniture First
Place the pieces that dominate the room: bed, sofa, dining table, desk, wardrobe, kitchen island, media unit, or major storage. Use actual product dimensions where possible. If you do not have a product selected, use a conservative placeholder rather than an unrealistically small object.
Large furniture establishes the zones. A sofa can define a conversation area; a dining table can separate cooking from living; a desk can create a work zone in a studio apartment. Small objects should not decide the main plan.
Use the planner to test at least three arrangements:
- The layout that maximizes open floor area.
- The layout that prioritizes the main activity.
- The layout that provides the most storage or flexibility.
Compare them using the same criteria. Do not choose the option that merely looks best from one camera angle.
Step 4: Check Circulation
Circulation is the path people use through and around the room. It includes entry, access to adjacent rooms, movement between furniture, and the space needed to open doors and drawers. It is one of the most important reasons to use an AI room planner instead of relying on a generated image.
Ask these questions:
- Can someone enter without walking directly into the back of a chair?
- Can doors and drawers open without hitting furniture?
- Is the main route obvious and free of sharp obstacles?
- Can two people pass when the room is in normal use?
- Can a person reach a window, radiator, switch, or cabinet?
- Does the layout still work when chairs are pulled out?
Do not treat a generic clearance number as a universal code requirement. Needs vary by furniture, household, mobility, and local standards. Use dimensions as a planning aid and seek professional advice for accessibility or regulated spaces.
Step 5: Create Functional Zones
Open rooms work better when the zones are clear. A small apartment may need sleeping, working, eating, relaxing, and storage zones in one space. A living room may need conversation, media, reading, play, and circulation zones.
Define each zone by activity, not only by furniture. “Reading” includes a comfortable seat, light, a place for a book, and a path to sit down. “Home office” includes a desk, task light, screen position, cable route, and ergonomic movement. A planner can show the footprint, but you still need to ask what the activity requires.
Use rugs, lighting, open shelving, or furniture orientation to suggest a zone without blocking the room. In a rental, reversible zoning is often more practical than built-in partitions.
Small Room Planning
Small rooms punish errors in scale. Begin with the largest required function and make it work first. Then add storage and only afterward add decoration. A small room with fewer, well-scaled pieces usually feels more useful than a room full of miniature objects.
Useful tactics include:
- Choose furniture with more than one function.
- Keep tall storage on the wall that creates the least visual obstruction.
- Use a consistent depth for cabinets when possible.
- Protect a clear path from entry to the most frequently used area.
- Use wall-mounted or folding elements only when their operation is realistic.
- Leave maintenance access around appliances and radiators.
- Treat the ceiling and vertical storage as part of the plan.
Test the room with doors, drawers, and chairs pulled out. A plan that works only when every object is closed is not a working plan.
Furniture Layout Tips by Room
Living room
Start with the main seating relationship. Decide whether the room is centered on conversation, media, a view, or a fireplace. Keep the coffee table close enough to use but far enough to walk around. Make sure the TV is not the only possible focal point if the room also needs reading or social use.
Bedroom
Place the bed based on access to both sides, the door, the window, and storage. Confirm the mattress size, bed-frame depth, bedside clearance, and wardrobe opening. Do not use a generated image to guess whether the bed can be delivered through the home.
Kitchen
Plan the main work zones first: storage, preparation, cooking, and cleaning. Check that cabinet doors and appliances can open together. An island should have a clear reason to exist; it should not simply fill the center of the room.
Home office
Place the desk to manage light and screen glare. Add the chair footprint, cable route, storage, and a camera background if video calls matter. A desk that fits a wall but leaves no room to sit is not a solution.
Studio apartment
Use furniture orientation, lighting, and storage to create zones without making a maze. Keep one continuous path through the room and choose pieces that can support multiple activities.
Testing Layouts with AI
Once the measured plan is ready, use AI to explore options instead of asking it to invent the plan. A strong prompt can explain the room's function and the layout constraint:
Plan this measured [room type] for [activities]. Preserve the walls, doors, windows, radiators, and fixed storage shown in the plan. Place [large furniture] using the actual dimensions provided. Prioritize a clear path from [entry] to [destination], access to storage, and comfortable use of [main activity]. Show two alternatives: one with more open floor area and one with more storage. Keep the furniture scale realistic and do not invent openings.
If the planner supports direct editing, use the AI suggestion as a starting layout and adjust it yourself. Human edits are not a failure of the tool; they are the part that connects a generic recommendation to your household.
When a Photo Tool Is Still Useful
Planning does not make visualization unnecessary. Once you have a layout that works, a photo redesign can help you choose finishes and atmosphere. Send the promising arrangement to AI Room Design, or use a room-specific workflow such as living room design AI or bedroom design AI.
Keep the layout fixed while exploring style. If every visual iteration changes furniture position, you cannot tell whether the layout or the finish is responsible for the result. A stable plan creates a fair comparison.
Common Room Planner Mistakes
Starting from furniture instead of the envelope
A beautiful sofa is not a plan. Begin with walls, openings, and fixed conditions.
Using catalog dimensions as a guess
Product dimensions can exclude handles, cushions, clearance, or installation space. Use the full operating footprint.
Ignoring the delivery path
Measure hallways, lifts, stairs, and door turns before selecting a large piece.
Treating a 3D render as proof
Perspective can hide crowding. Check 2D dimensions and real operating clearances.
Filling every empty area
Open space is not wasted space. It supports movement, light, flexibility, and visual rest.
Forgetting real behavior
Ask what happens when the room is messy, several people are present, doors are open, or the activity changes. A layout should survive normal use.
Comparison: AI Room Planner vs. Photo Redesign
| Question | AI room planner | Photo redesign |
|---|---|---|
| Can I test exact furniture size? | Better fit | Only approximate |
| Can I see a new style quickly? | Possible, but slower | Better fit |
| Can I check doors and circulation? | Better fit | Unreliable without a measured workflow |
| Can I communicate atmosphere? | Good in 3D | Strong visual impact |
| Is the output a construction document? | No | No |
| Best first input | Dimensions or plan | Clear room photo |
The two tools solve complementary problems. The right sequence is often plan, visualize, verify.
Related Guides and Tools
If you are deciding which workflow to start with, read Best AI Room Design Tools. If you are working from a photo, read AI Room Design From Photo. Use AI Room Planner for the editable layout and AI Room Design Free when you want to explore a visual direction after the plan is clear.
FAQ
What is the best AI room planner?
The best AI room planner is the one that lets you work with the room's real envelope, openings, furniture dimensions, and functional zones. Choose an editable planner when scale and circulation matter, and use a photo generator alongside it for style.
Can an AI room planner use a photo?
Some workflows can use a photo as a starting point, but the image does not guarantee accurate measurements. Add dimensions and verify openings. If the room is important or complex, create a measured plan rather than relying on visual estimation.
How do I plan furniture for a small room?
Start with the primary activity, place the largest required piece, protect the main path, and add storage before decoration. Test doors, drawers, and chairs in their open or pulled-out positions.
How many layouts should I compare?
Two or three serious alternatives are enough for most rooms. Compare one open-floor option, one storage-first option, and one activity-first option. More options are useful only when each one tests a clear decision.
Should I plan before using an AI interior design generator?
Yes when the room has tight dimensions, multiple activities, or fixed furniture. A rough but accurate plan gives the visual generator better constraints and reduces the chance of choosing an attractive but unusable concept.
Can AI room planning replace an architect or designer?
No. It can support early layout exploration. It does not assess structure, code, accessibility, services, site conditions, or construction responsibility. Use qualified professionals for consequential work.
What measurements matter most?
Room dimensions, door widths and swings, window positions, radiators, built-ins, appliances, and the dimensions of large furniture matter most. Also measure the route that furniture must travel through during delivery.
A Layout Review Worksheet
Before choosing a layout, write the answers next to each concept:
| Review area | Question |
|---|---|
| Entry | Where do shoes, bags, coats, and deliveries go? |
| Movement | What is the most common path through the room? |
| Main activity | Where does the primary activity happen, and what does it need? |
| Secondary activity | Can the room change use without moving everything? |
| Storage | Can everyday objects be reached and put away? |
| Light | Where is natural light strongest, and where is task light needed? |
| Maintenance | Can the floor, furniture, and access gaps be cleaned? |
| Change | Which piece can move if the household changes? |
The worksheet is useful because a layout is a sequence of actions, not only a collection of rectangles. Imagine arriving with groceries, opening the wardrobe, sitting down with a laptop, hosting a guest, or cleaning under the sofa. If the plan works only in an empty room, it needs another iteration.
When to Stop Iterating
AI makes it easy to keep generating. Set a stopping rule so novelty does not replace judgment. Stop when one layout meets the non-negotiable constraints, supports the main activities, and gives you a clear list of remaining measurements. More images will not solve a missing dimension or an unresolved technical question.
Keep the rejected options and note why they failed. A layout that blocks the door or loses storage teaches you something about the brief. That record also prevents you from returning to a visually attractive option after forgetting its practical problem.
Final Recommendation
A Useful Layout Is Easy to Explain
Try explaining the chosen plan in one paragraph without using the word “beautiful.” Describe the entry path, main activity, storage, secondary activity, and the reason each large piece is where it is. If you cannot explain the plan, it may be relying too much on an attractive camera angle.
Keep a screenshot of the 2D plan, a 3D view, and a list of actual product dimensions. These three views answer different questions. The plan shows distance, the 3D view shows proportion and sightlines, and the product list shows whether the placeholder furniture can become real. Together they create a more trustworthy bridge from an AI suggestion to a purchase.
When a room is shared, review the explanation with the people who use it. A plan that works for one routine may fail for another. The best room planner supports a conversation about tradeoffs rather than presenting one answer as inevitable.
For example, a living room may need a clear toy zone during the day, a conversation area in the evening, and an unobstructed path for someone with limited mobility. The planner cannot choose the priority for you, but it can make the footprint of each choice visible. Write the priority into the brief, compare the alternatives, and keep the reasoning next to the saved layout.
When the room is nearly correct, do not keep changing everything. Lock the walls, openings, and primary furniture, then test one small change: a storage depth, a chair angle, a desk position, or the size of a rug. Small changes are easier to evaluate and often reveal the last practical improvement the room needs.
Use an AI room planner when your question is spatial. Start with the envelope, add real openings and fixed objects, place large furniture, test circulation, and create clear functional zones. Only after that should you ask an image model to explore style.
The best room layout planner does not make every room look full. It helps you see how the room works when people enter, move, sit, open, store, work, and live. Combine an editable plan with photo-based visualization, and your design decisions become both more imaginative and more practical.
A Small First Experiment
Choose one room and build the empty measured envelope before adding any style. Place only the largest required piece, test the path, then add one secondary activity. Save that version. You now have a baseline that can be compared with a storage-first and an open-floor alternative. The exercise is simple, but it reveals whether the project needs a new layout, a smaller piece of furniture, or only a better finish direction.